For tha last 6 months or so, I've noticed the Cobalt car ride had become a bit "springy", particulalrly at the front end. I last fittted and gassed the spheres in August 2012, apart from the rear corners which I fitted new spheres to in September 2013, so it was time for them to be gassed.
The process is simple enough but I don't have a gas bottle so needed to remove all seven spheres and take them to a friend who has gas I can use. This meant the car needed to be completely off the ground so all the spheres could be removed in one go, as opposed to doing each end using ramps.
I went with a bit of overkill on the axle stands as the car was on a slope, I needed to be completely underneath it and the centre spheres can be somewhat seized on.

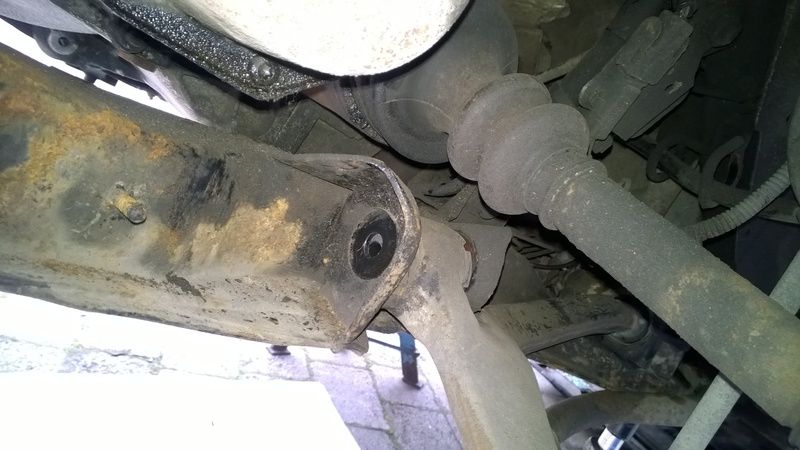
The first one to come off was the rear hydractive sphere, which can be removed without removing the exhaust or spare wheel carrier using a proper band wrench. My home made tool worked very well indeed, however I did remove the spare wheel carrier to gain better access as I couldn't get the rear stiffness regulator to depressurise the sphere so it was tight to remove until unsrewed enough to leak the pressure away. This was my fault, I didn't depressurise the system with the car in the low position but with engine running, it was still in the high position when I depressurised the system.
Removing the rear corner spheres is easy, car on high to force the rams to grip their housings, so as to not turn and damage the pipes, crack the spheres loose with the tool, then lower the suspension, undo the pressure relief and the spheres will unscrew by hand.
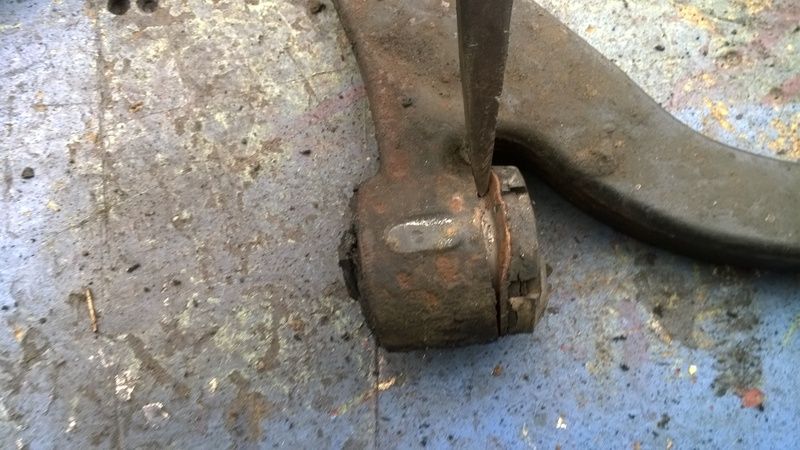
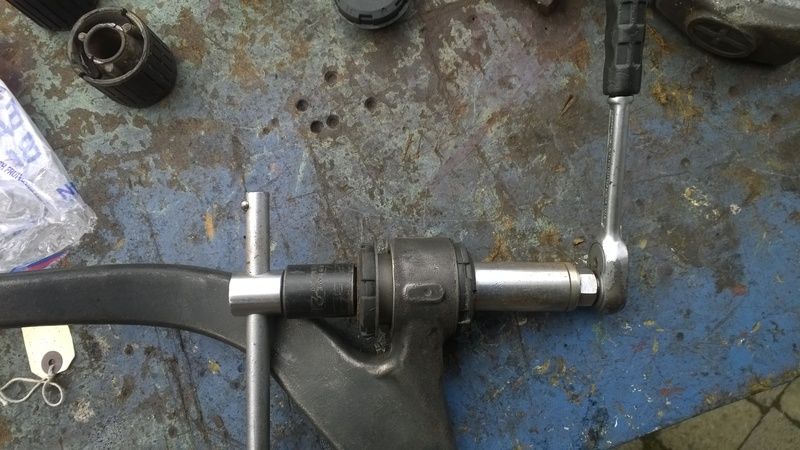
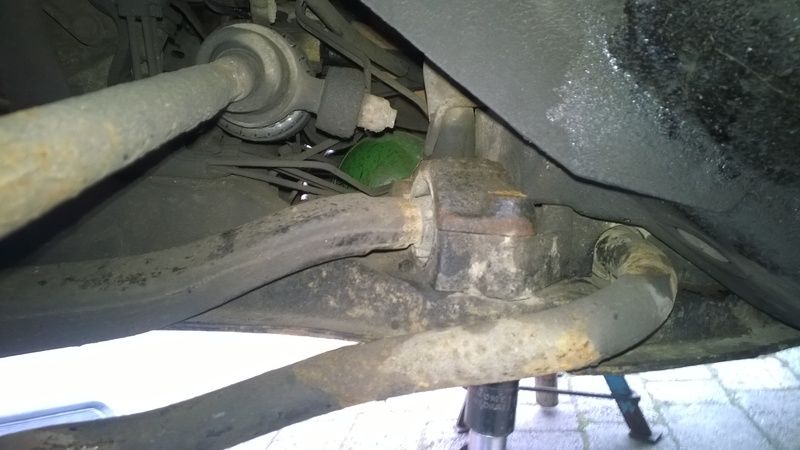
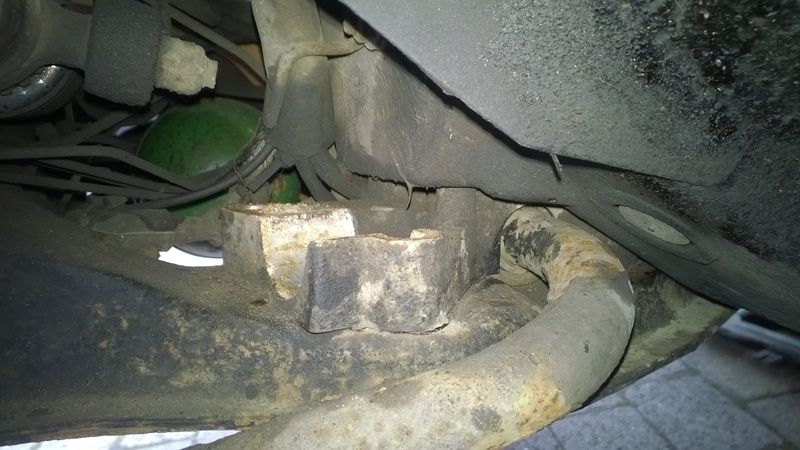
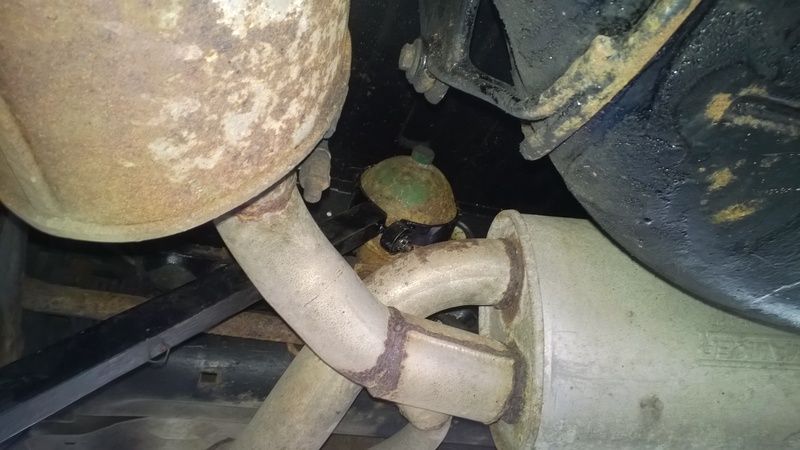
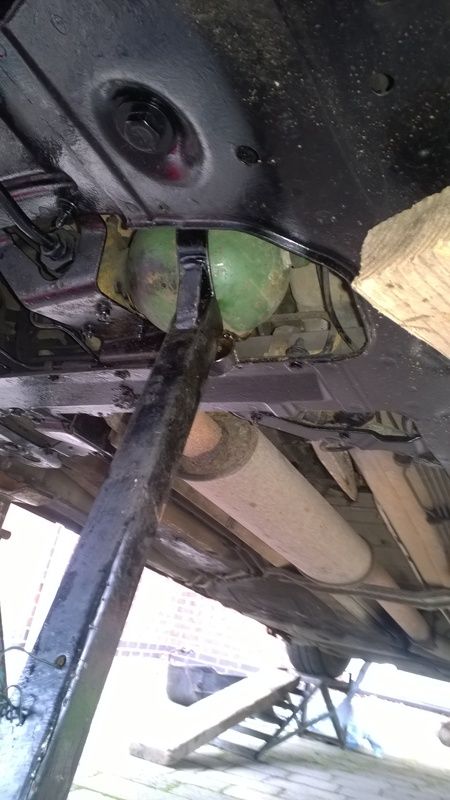
The front hydractive sphere is accessed from under the car after removing the undertray. A band wrench makes light work of removing these, which, as the rear hydractive sphere, can be very difficult to remove without one.
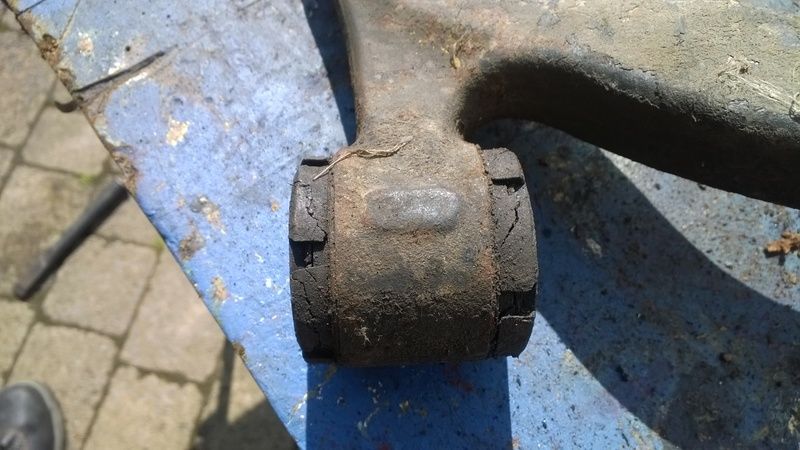
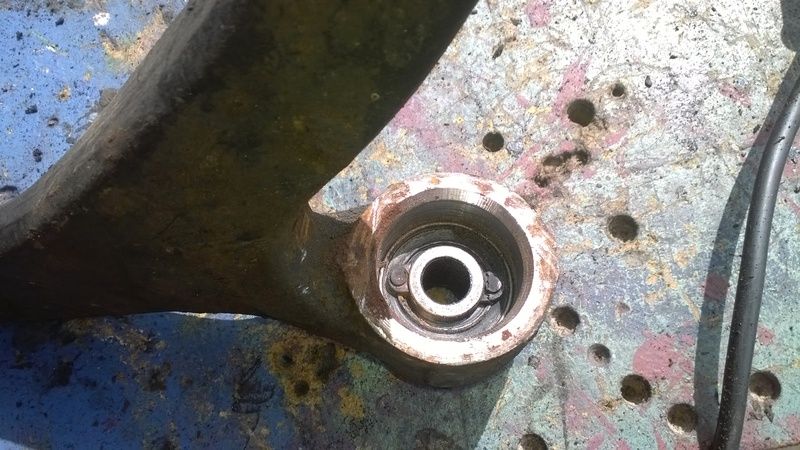
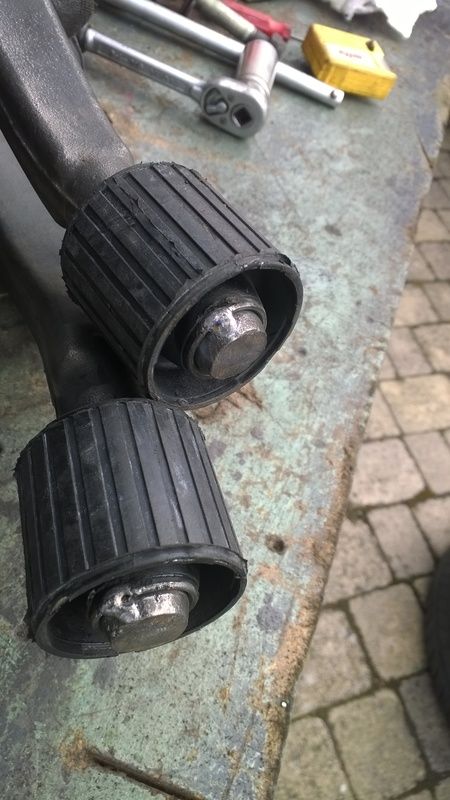
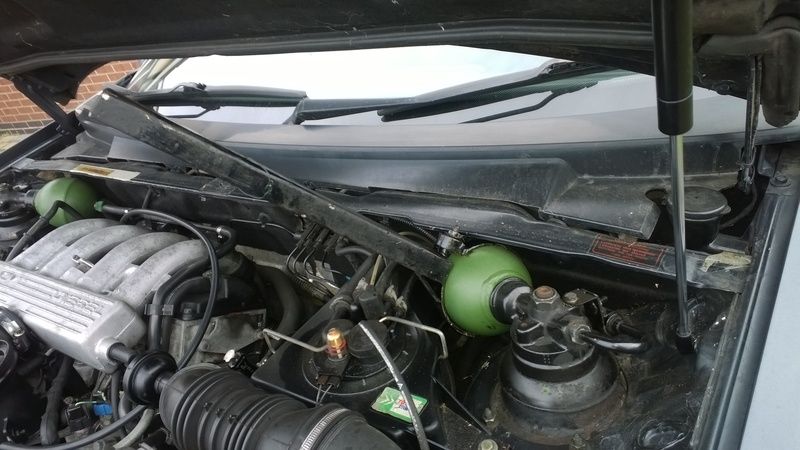
Next off were the front corner spheres, which are easy to access from above.
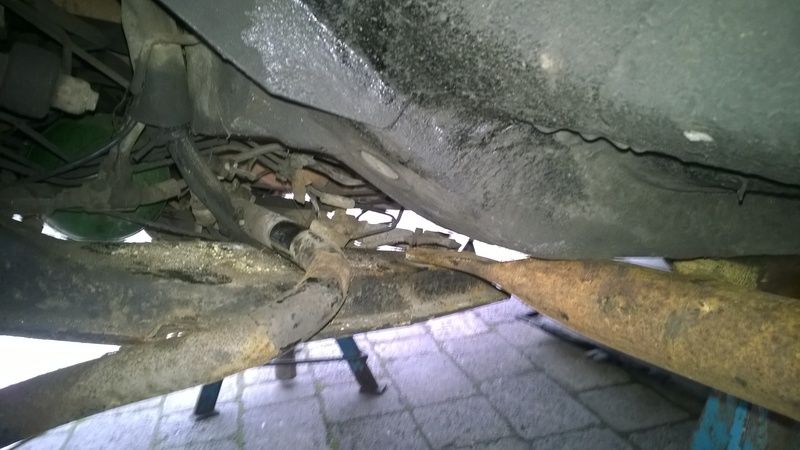
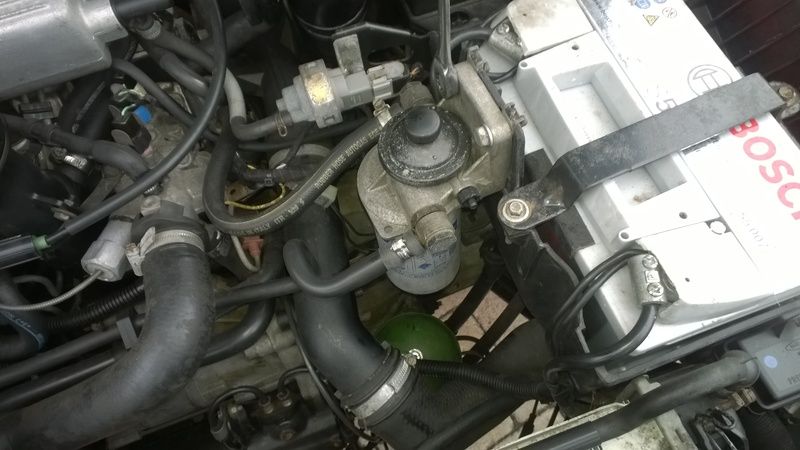
Last sphere off was the main accumulator, which came off easily after moving the fuel filter unit out of the way to gain access, giving the sphere a few clouts with a lump hammer, then unscrewing it by hand.
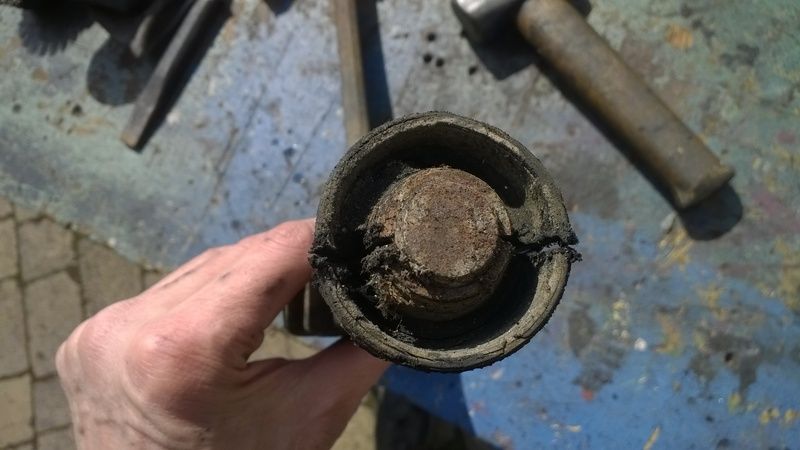
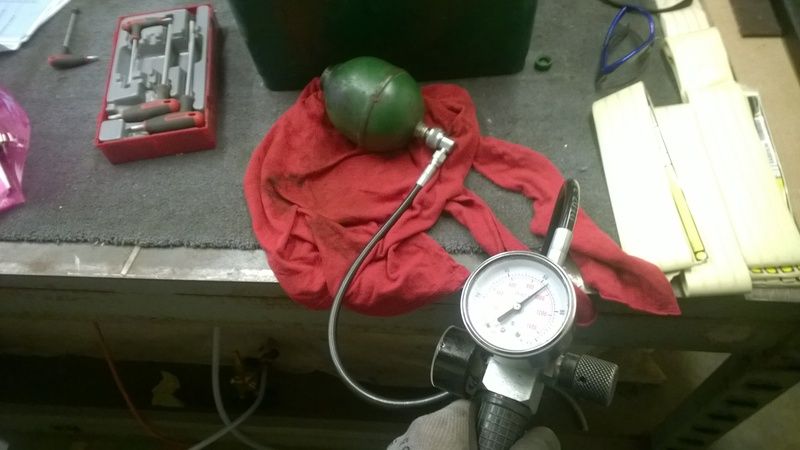
I didn't have time to check the spheres on my sphere tester, but didn't notice the readings when filling with my Tecnosir rig. The front spheres were at about 60% pressure, the rears about 75%.
Refilling the Tecnosir rig is easy. Some of the spheres can be refilled while still on the car, but I prefer to remove them to ensure a complete filling, as any residual hydraulic pressure palys havoc with the filling pressure and you have no way of knowing anything is wrong until you drive the car.
After all the spheres are back on the car the engine should be run for about 1 minute with the regulator pressure relief open to purge the pump, then tighten the relief bolt and let the car rise. You need to raise and lower the car a few times to purge air from the suspension circuits and then must bleed the brakes.
I've only driven the car on a test drive and am happy that it feels more supple than previously, though being a H1 car does transmit larger bumps more than a H2 car. More than anything, this is due to the front corner spheres being larger, with larger damper orifaces, on H2 cars.
Judging by the LHM that was recovered during bleeding, it needs changing. I flushed and changed the LHM when I put this car back on the road, but the system was very dirty. This batch has been in four years and under 20,000 miles, but there is no chance of reading a newspaper through it.

I have some Hydraurincage so will draw off some LHM and add it and let it work for a few thousand miles, then change the LHM in entirity.